

Your first workflow, step by step
This tutorial builds one complete workflow from an empty Shopify Flow canvas: alert the team when a price is marked down by more than 10 percent. It uses Product Variant Price Changed, but every trigger of this app is used the same way, so the five moves below carry over to all of them.
You need the app installed and Product, Variant & Collection Data Access granted. If not, start with Install and set up.
1. Create a workflow and pick the trigger
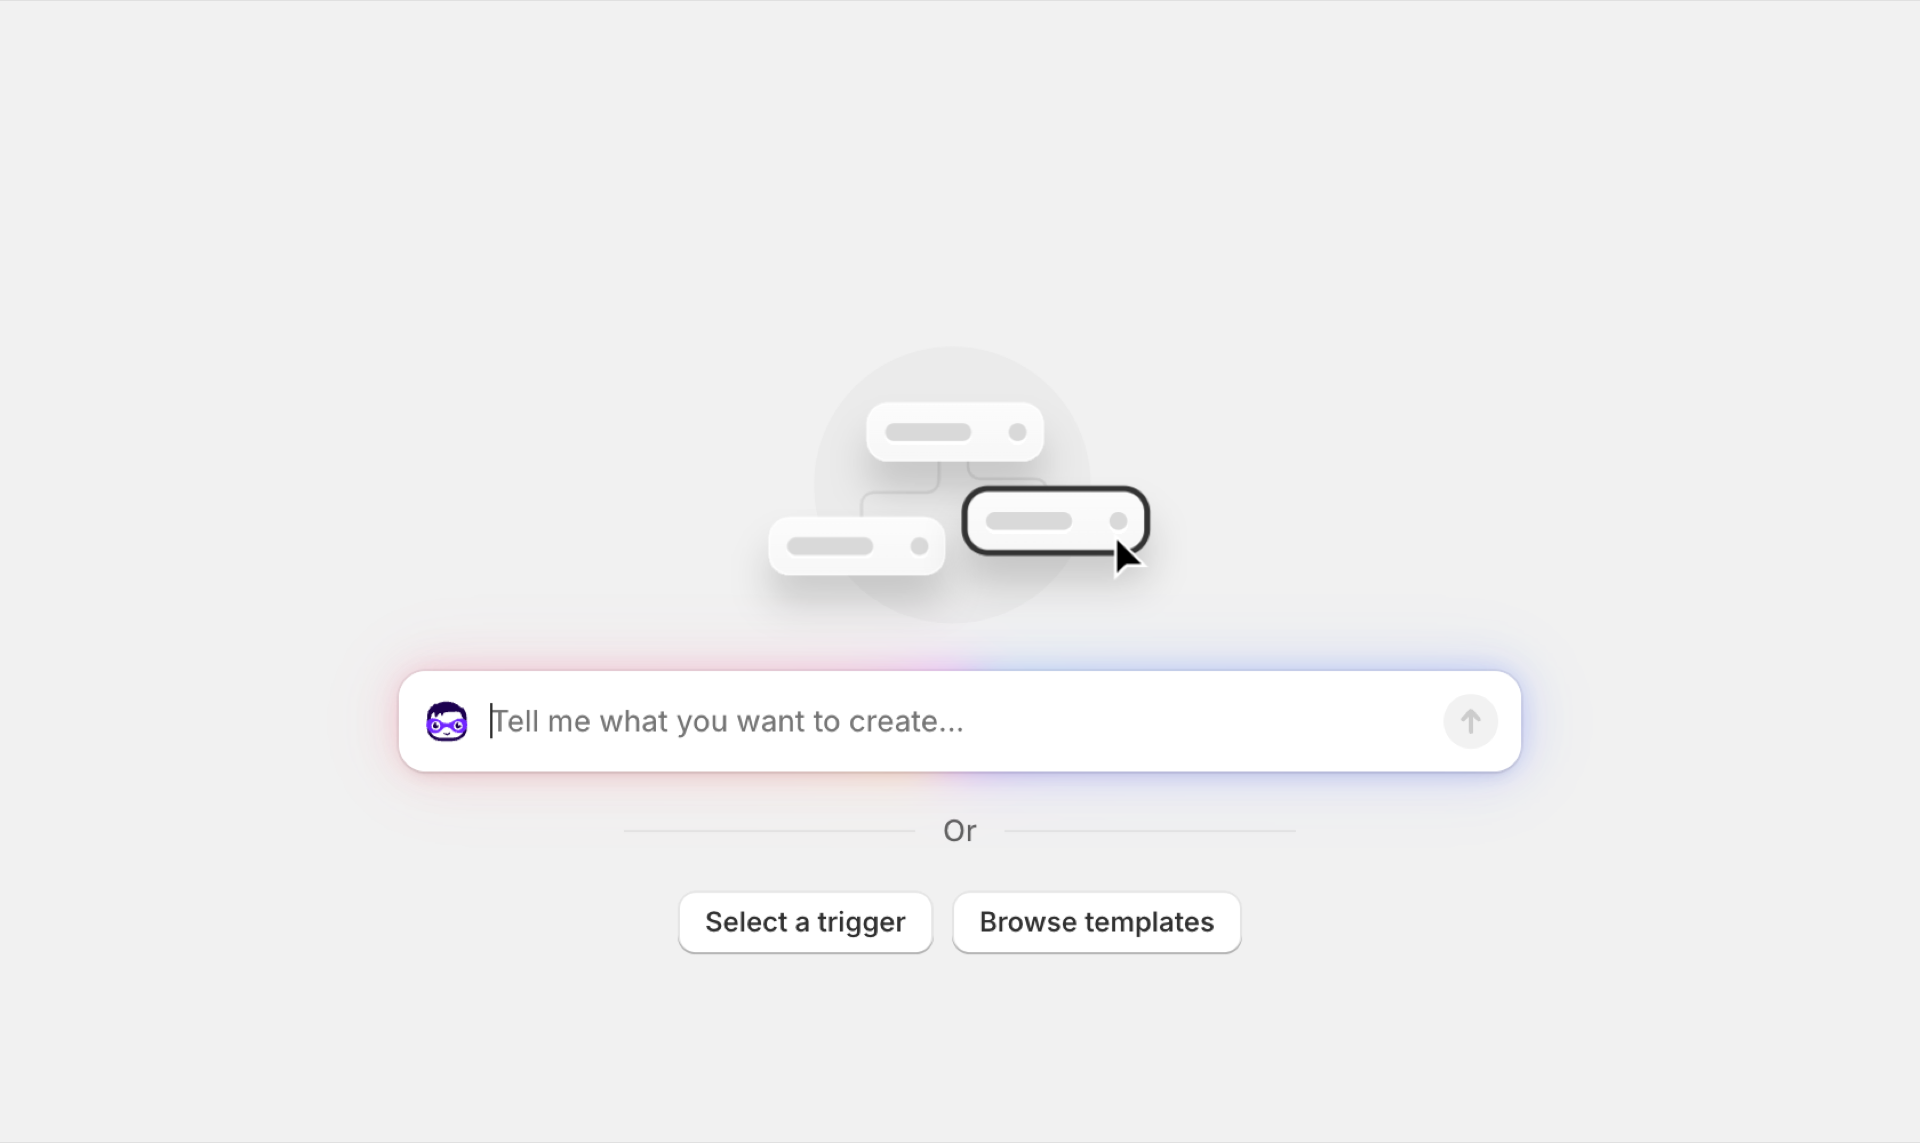
Open Shopify Flow from your admin (Apps > Flow) and click Create workflow. Flow opens an empty workflow with a prompt field in the middle. For a trigger of this app, click Select a trigger below it.
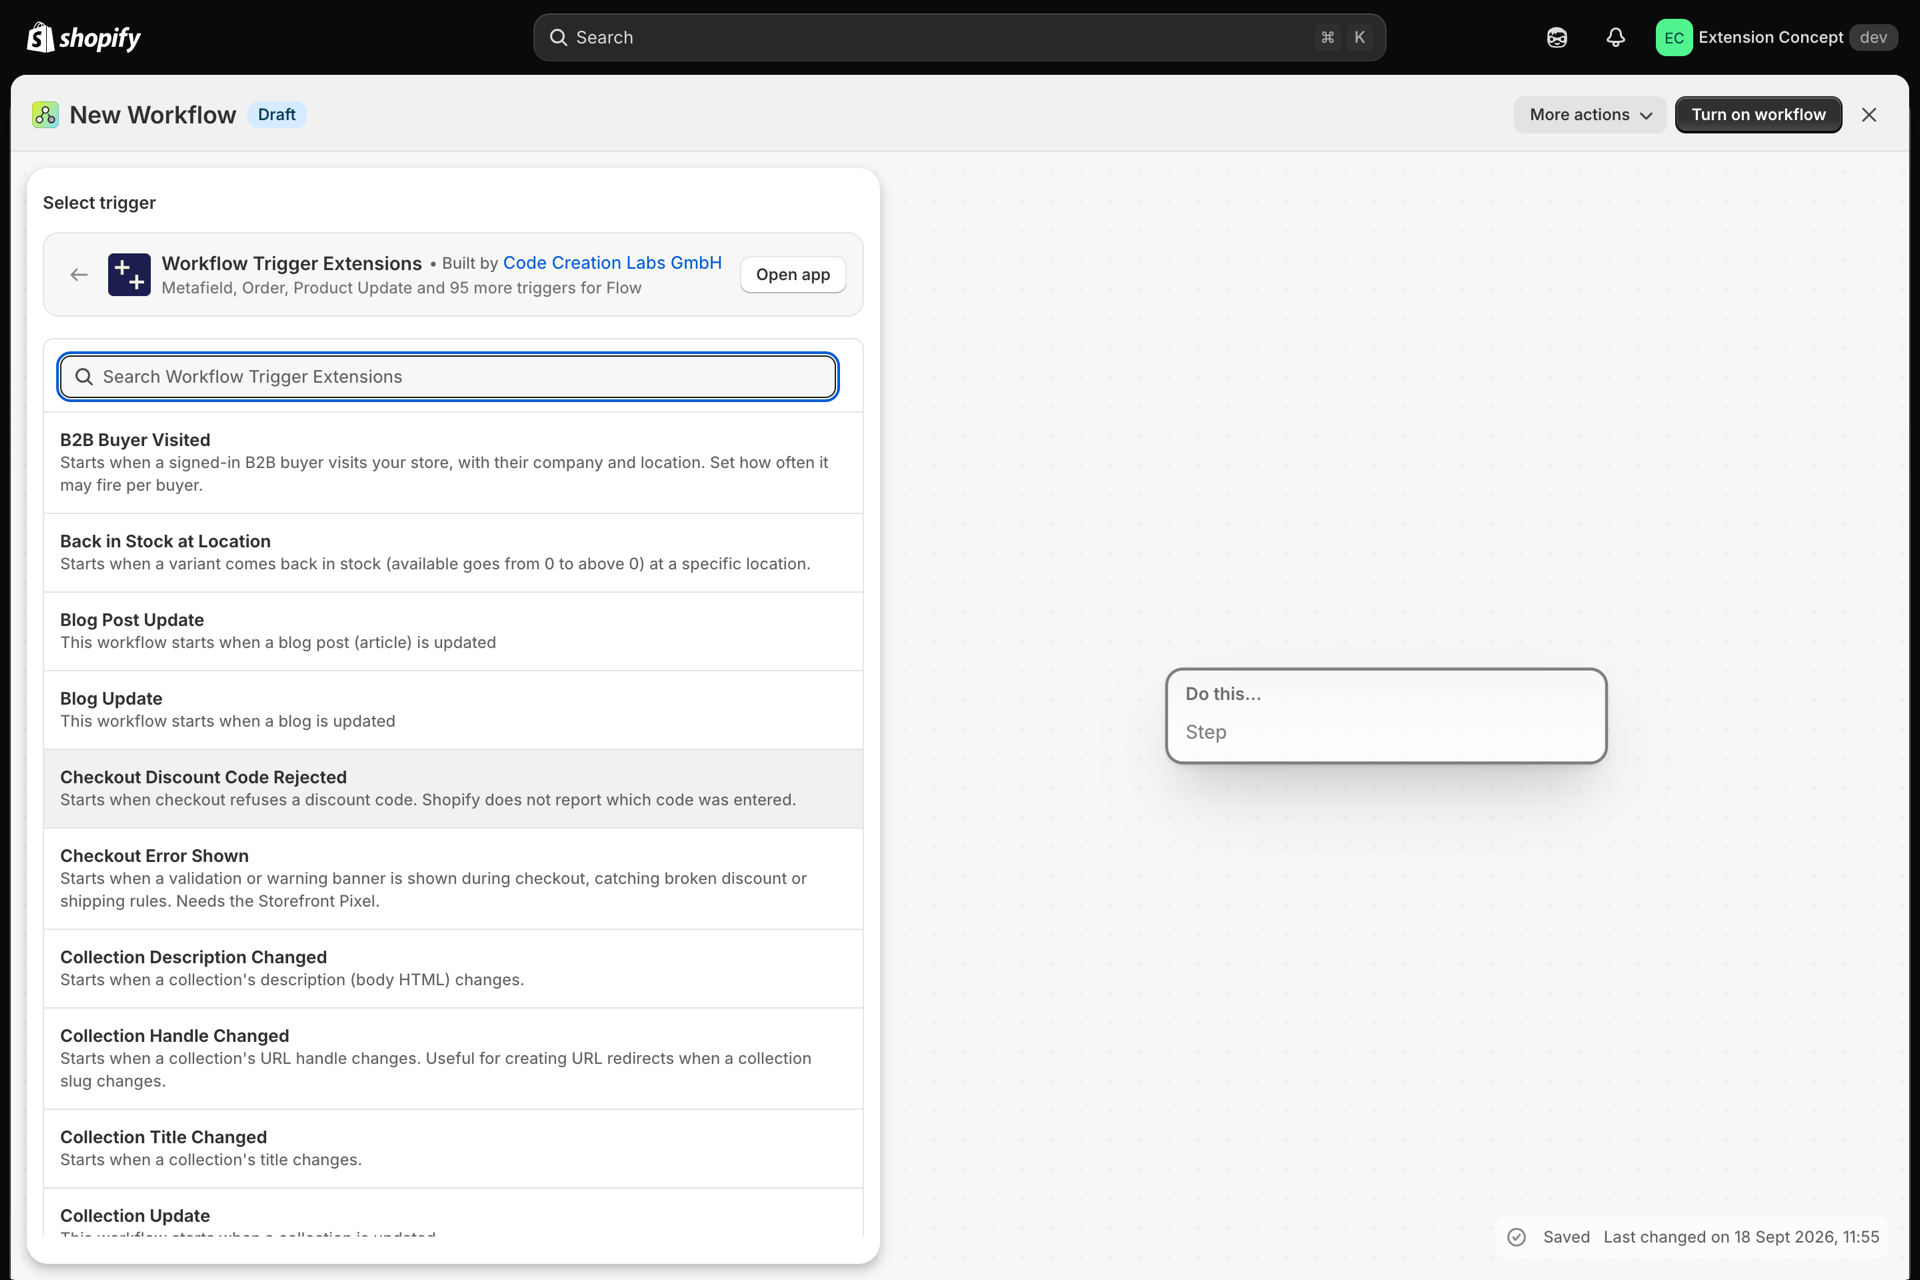
In the panel that opens, open Workflow Trigger Extensions. Every trigger of the app is listed there with a one-line description. You can also type a name into the search field at the top. Pick Product Variant Price Changed.
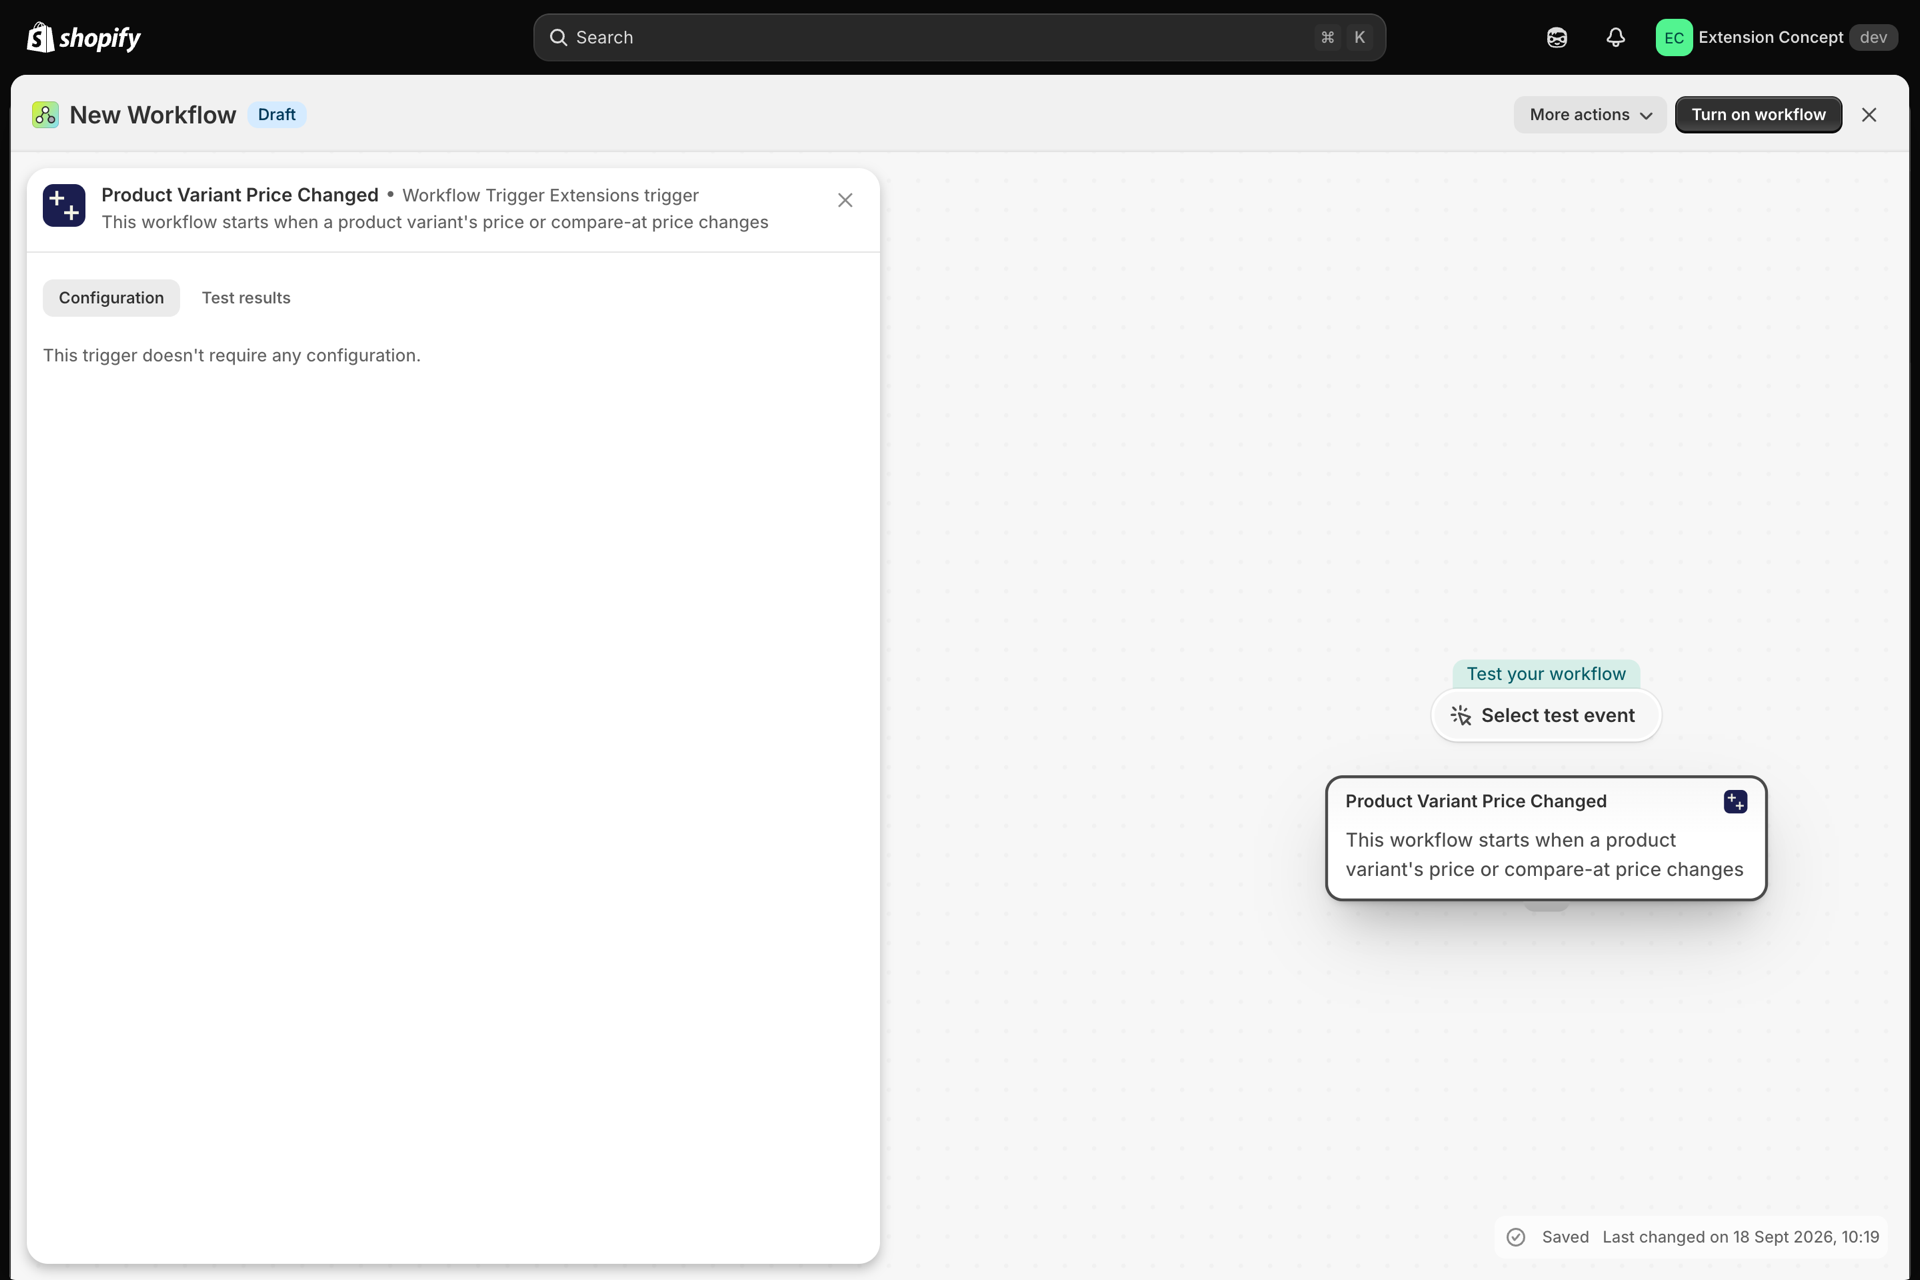
The trigger is now the first step of the workflow. Its panel shows what the trigger sends along - that is the data your conditions and actions can use.
2. Add a condition
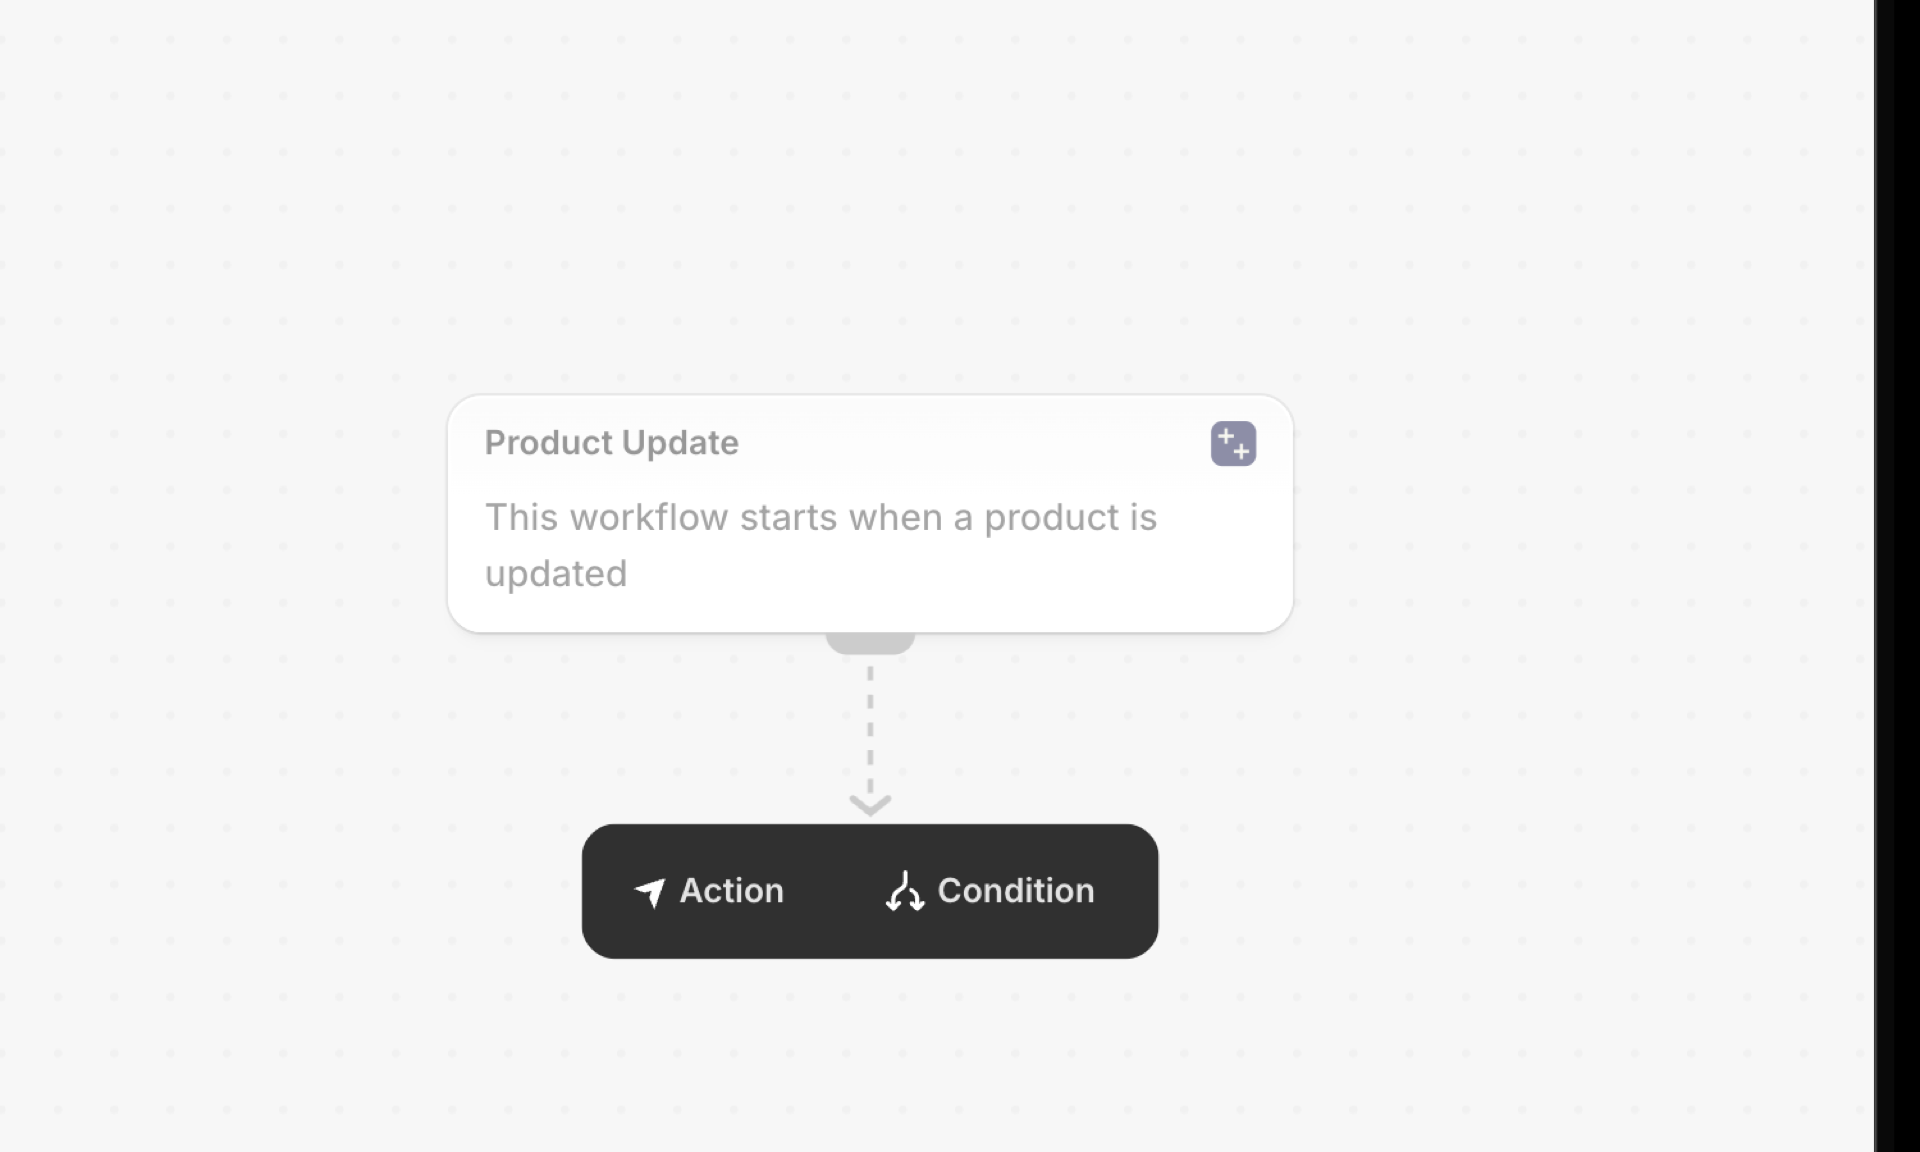
Click the + under the trigger and choose Condition. Click Add criteria: Flow opens the variable picker. Everything under the name of the trigger comes from this app.
For a price change that is priceChange with the old and the new price, the difference (delta), the percentage (percentChange) and the direction. These exist because a Flow condition cannot calculate, and money arrives as text - so the app does the arithmetic and hands you the result as a number.
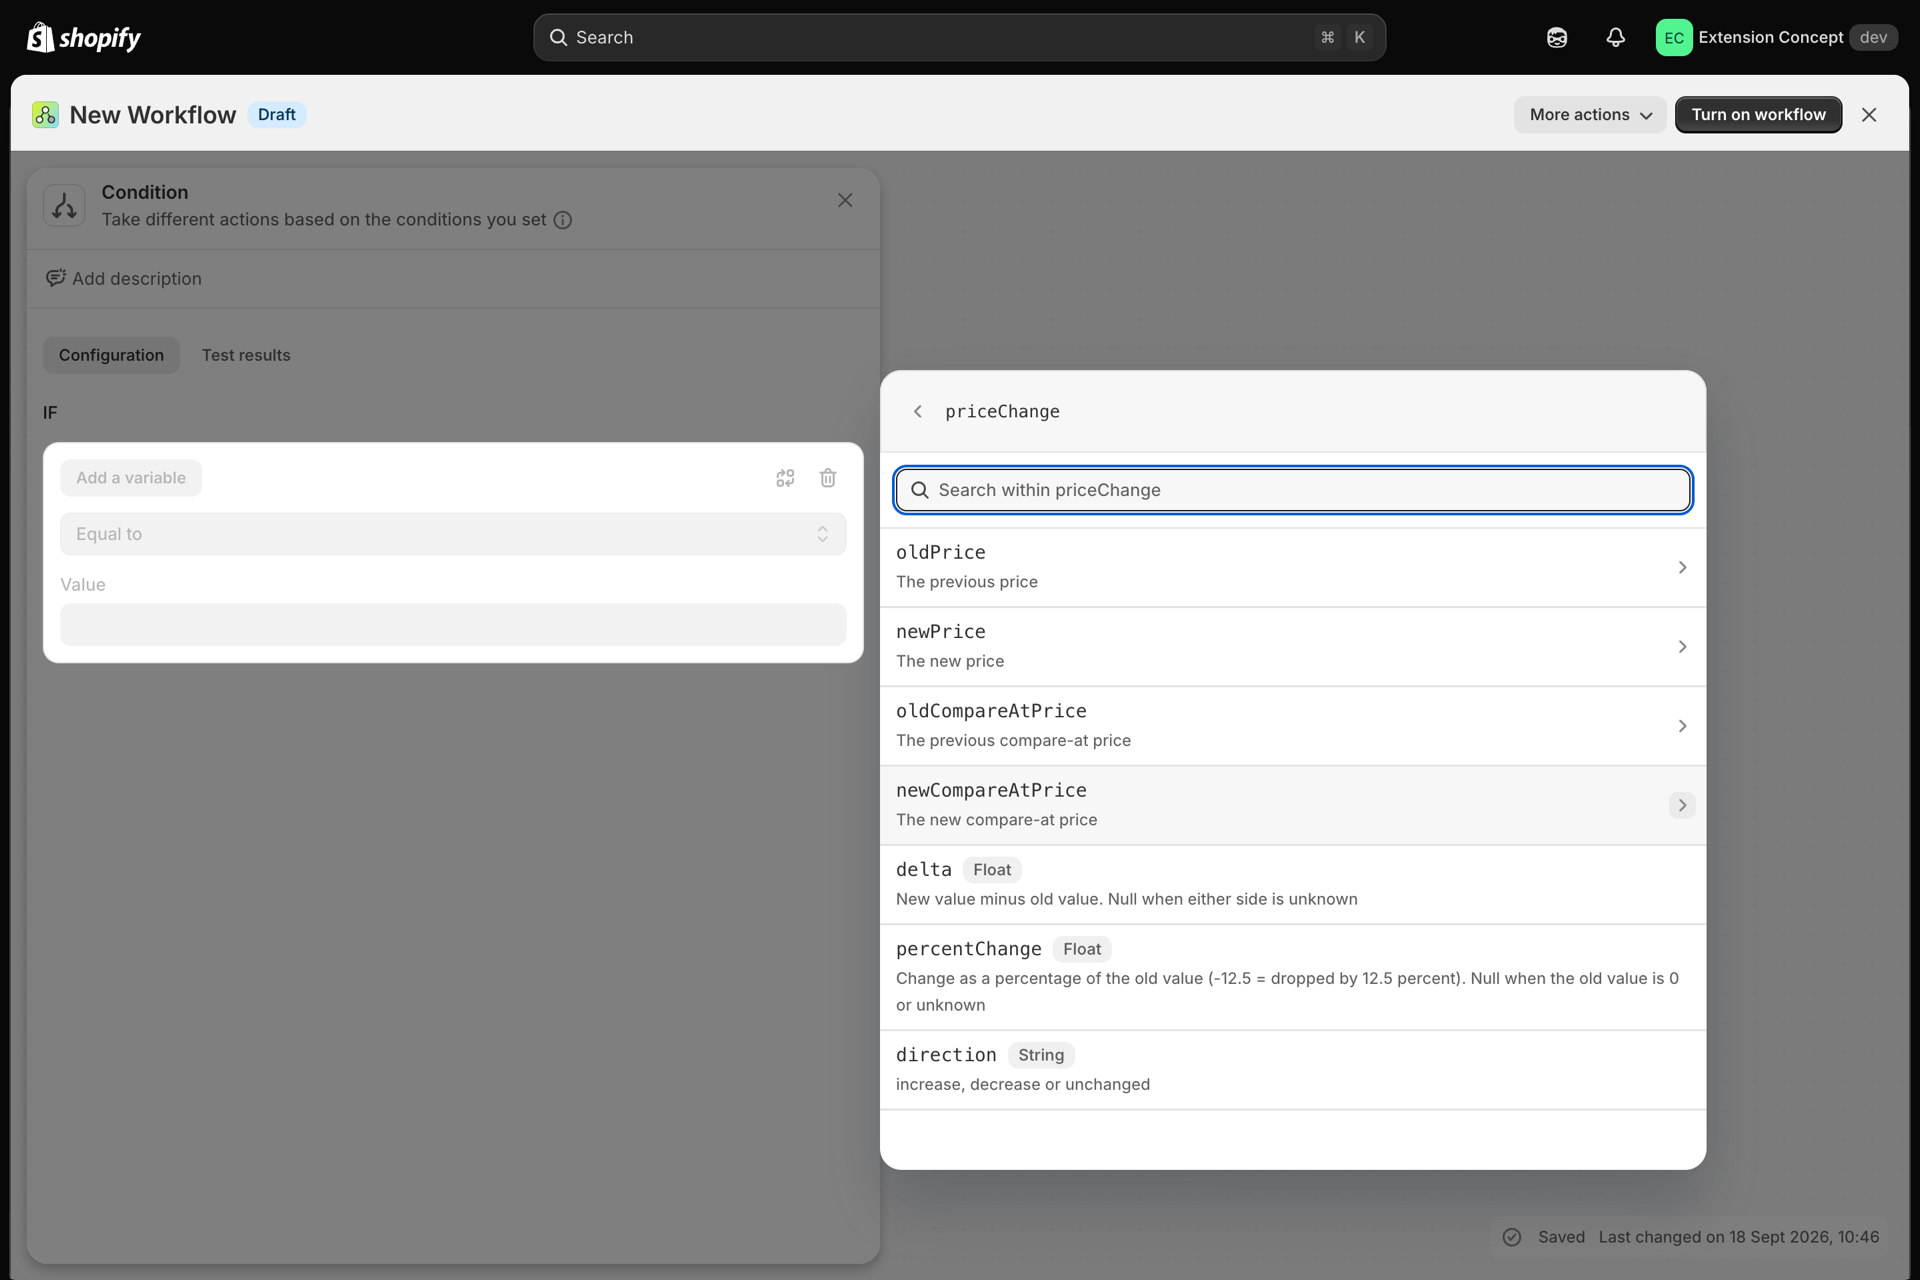
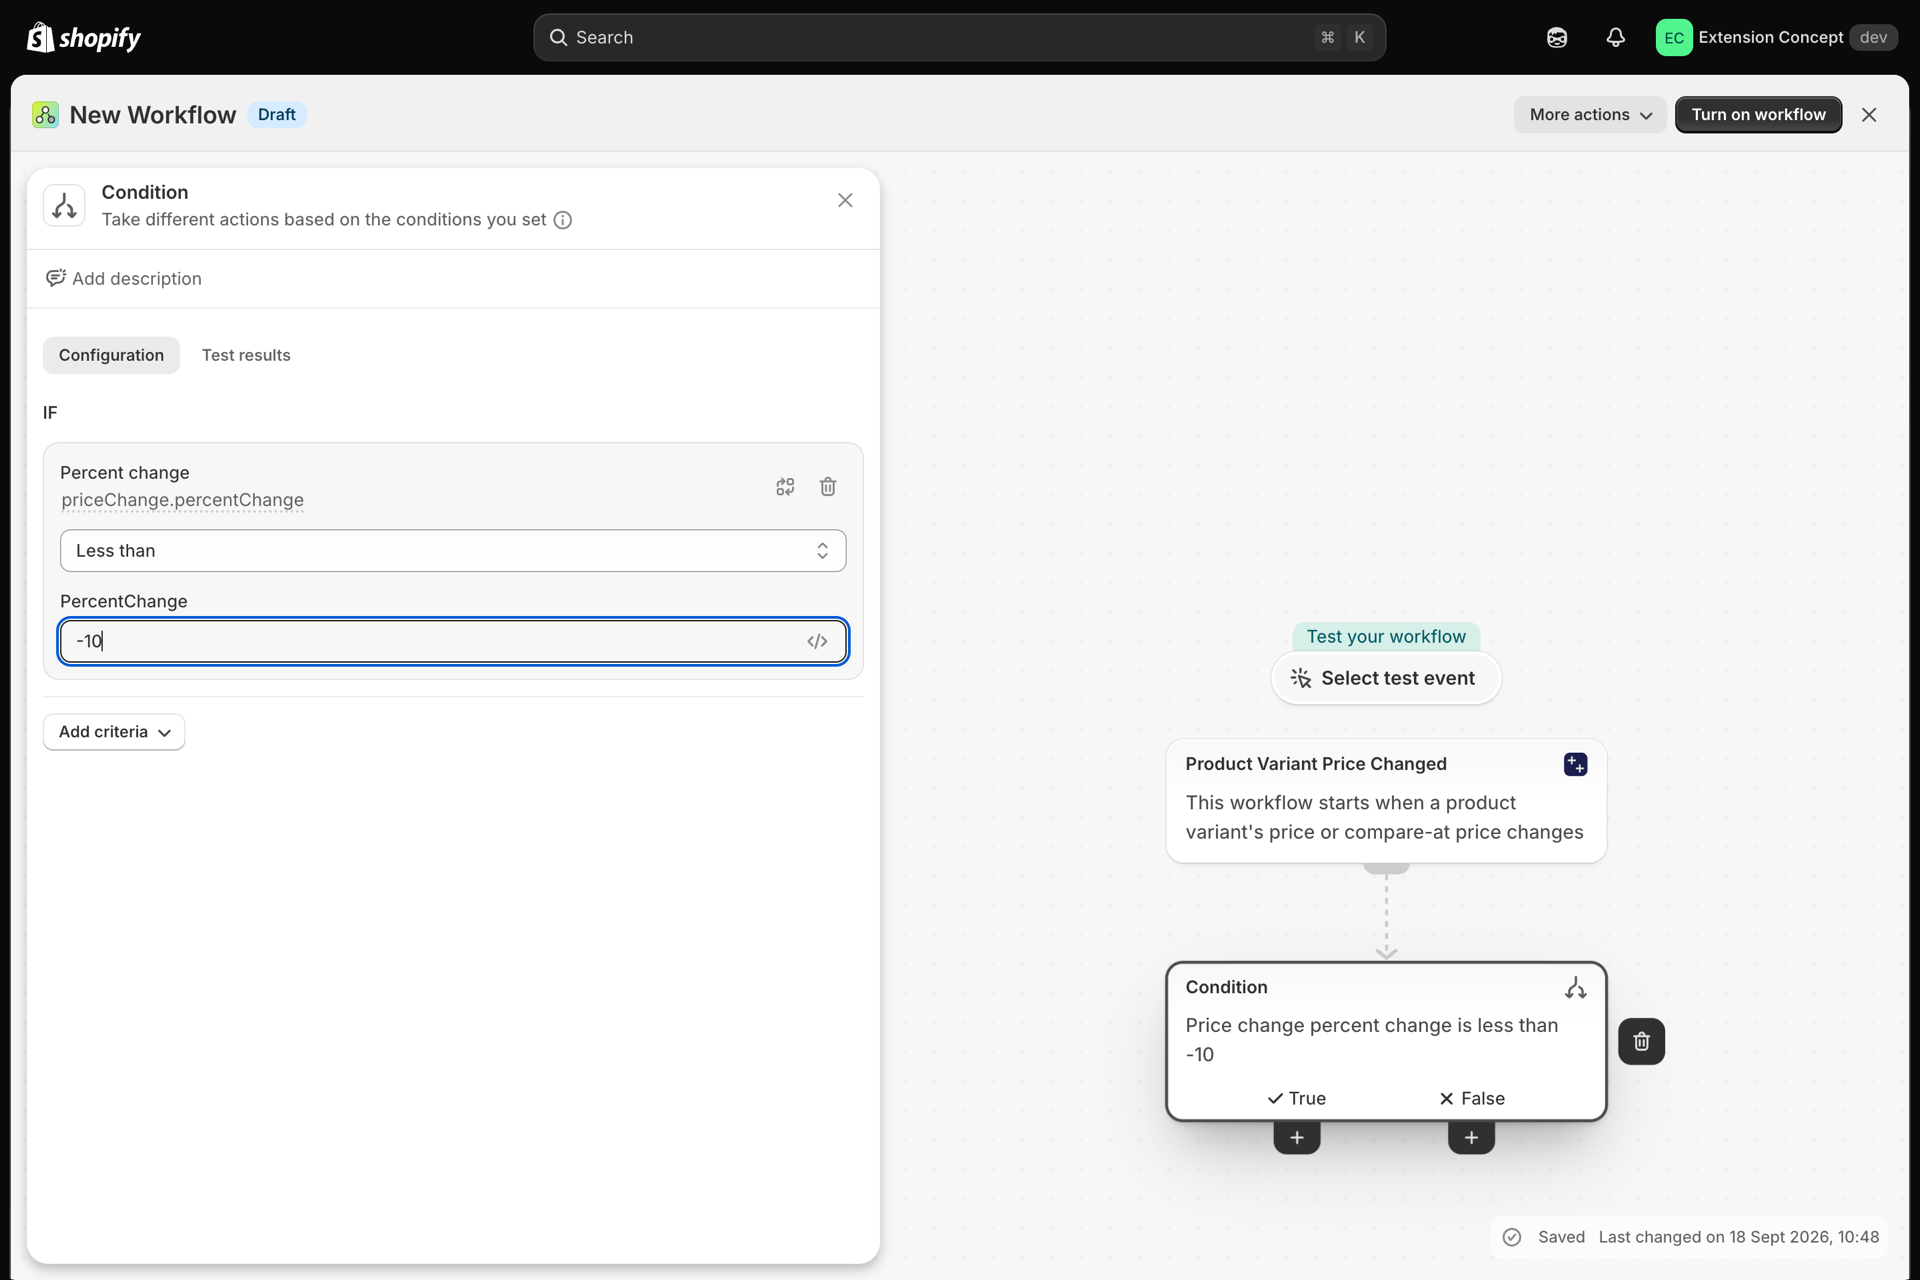
Pick percentChange, choose Less than and enter -10. The workflow now continues only for markdowns of more than 10 percent.
3. Add an action
Under Then, click + and choose Action. For an alert, Send internal email is the simplest one: it needs no other app. Put variables into the text with Add variable, for example:
{{productVariant.product.title}} / {{productVariant.title}}: {{priceChange.oldPrice.amount}} -> {{priceChange.newPrice.amount}} ({{priceChange.percentChange}} %)
Anything Flow can do works here: add tags, update a metafield, send an HTTP request to Slack or your ERP.
Optional: shape the data with Run code
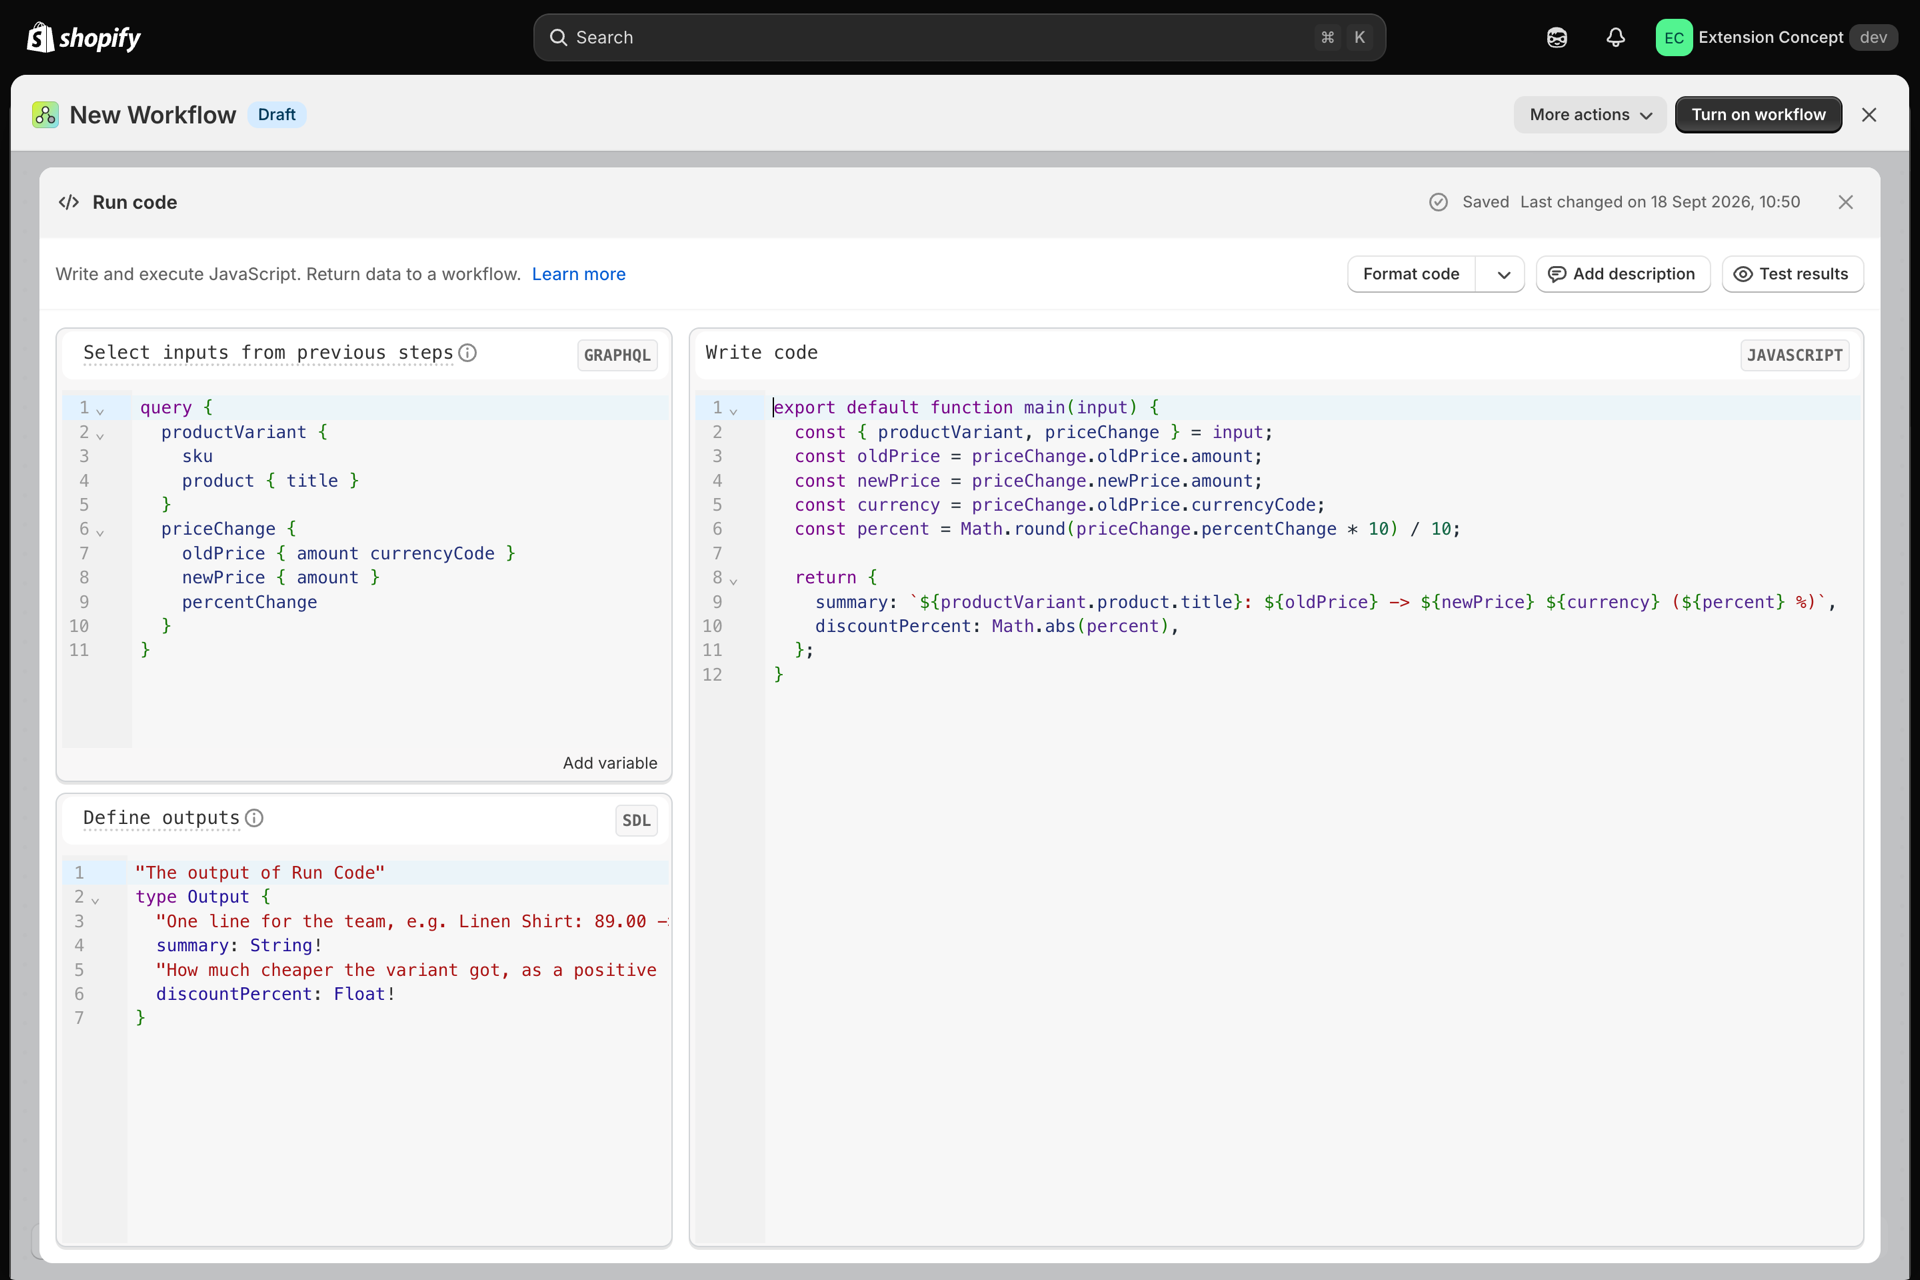
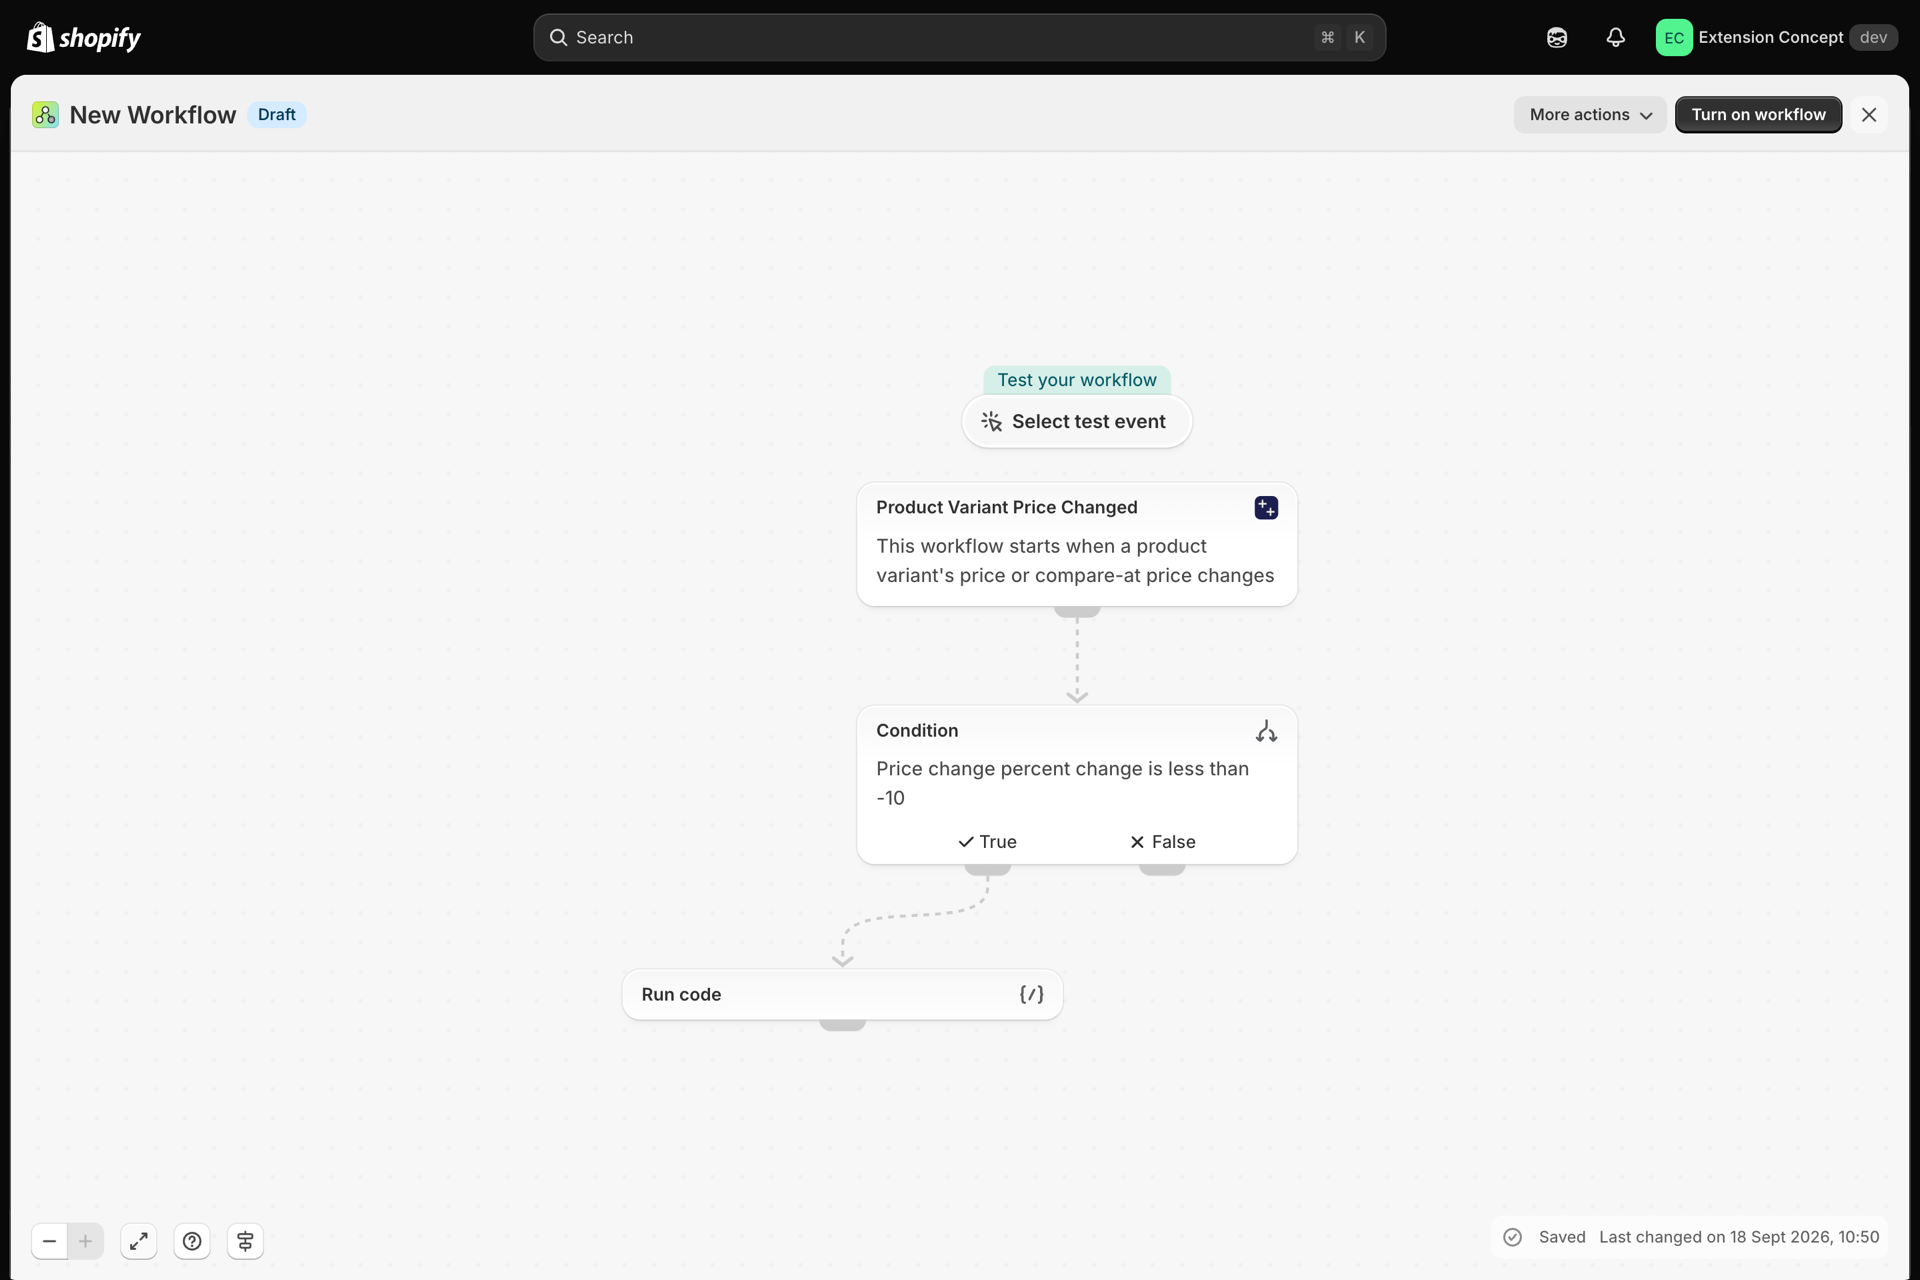
When the text you want is more than a few variables - rounding, a fallback for an empty value, a calculation - add Flow's Run code step between the condition and the action. It receives the trigger's data as input and returns an object that later steps can use.
4. Turn the workflow on
Give the workflow a name and click Turn on workflow. Flow tells the app that a workflow with this trigger is live, and the app does the rest:
- it switches the trigger on, and
- for a change trigger it reads the current state of the matching records once (the baseline sync), so that the very first change already has something to compare with.
On a large catalogue the baseline sync can take a few minutes. Until it has finished, the first change of a record may not fire.
5. Make the change and check Event History
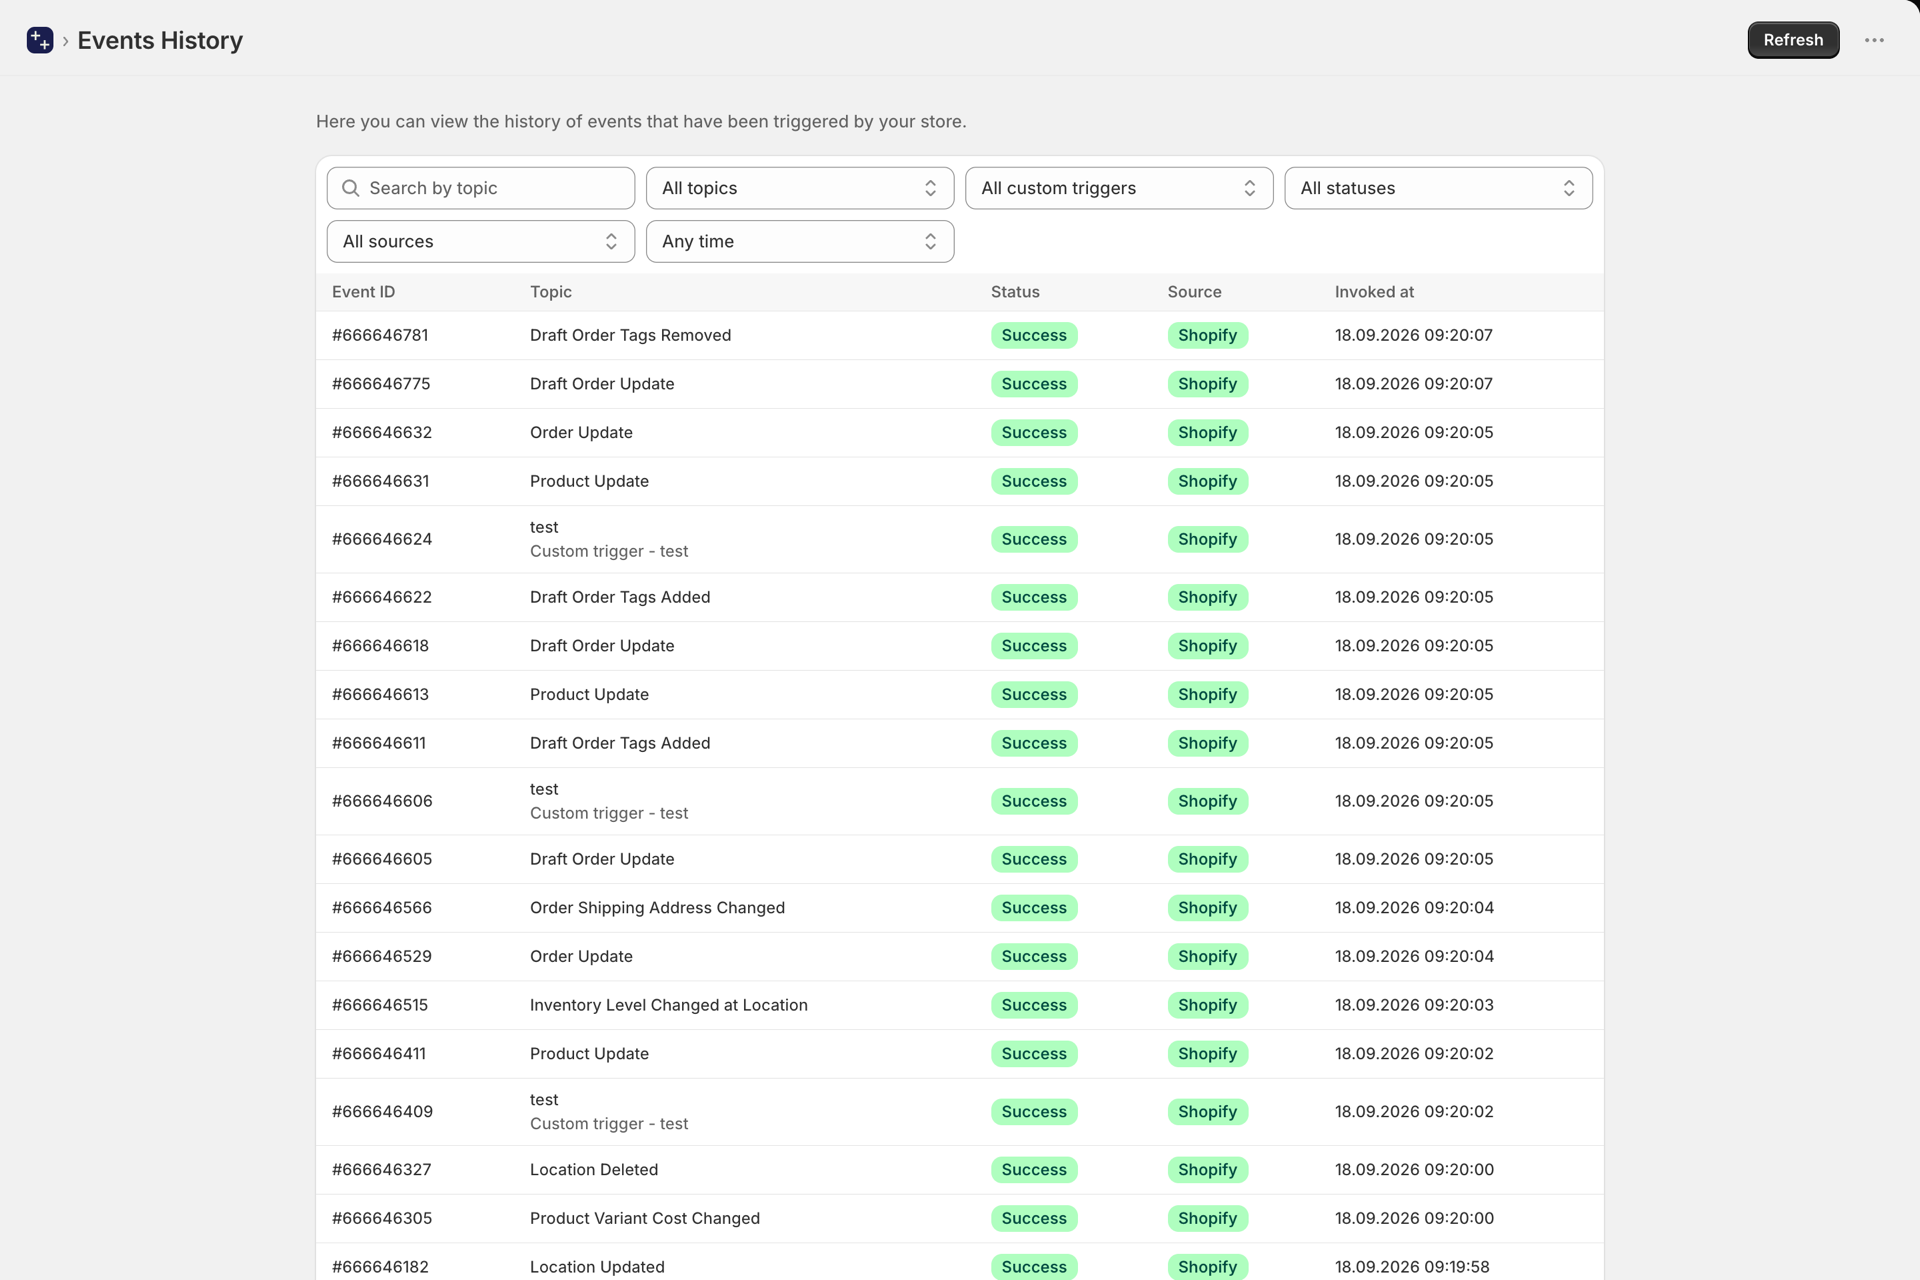
Change the price of a test variant by more than 10 percent. Then open Event History in the app: every event the app sent to Flow is listed there with its status. Success means Shopify Flow accepted it.
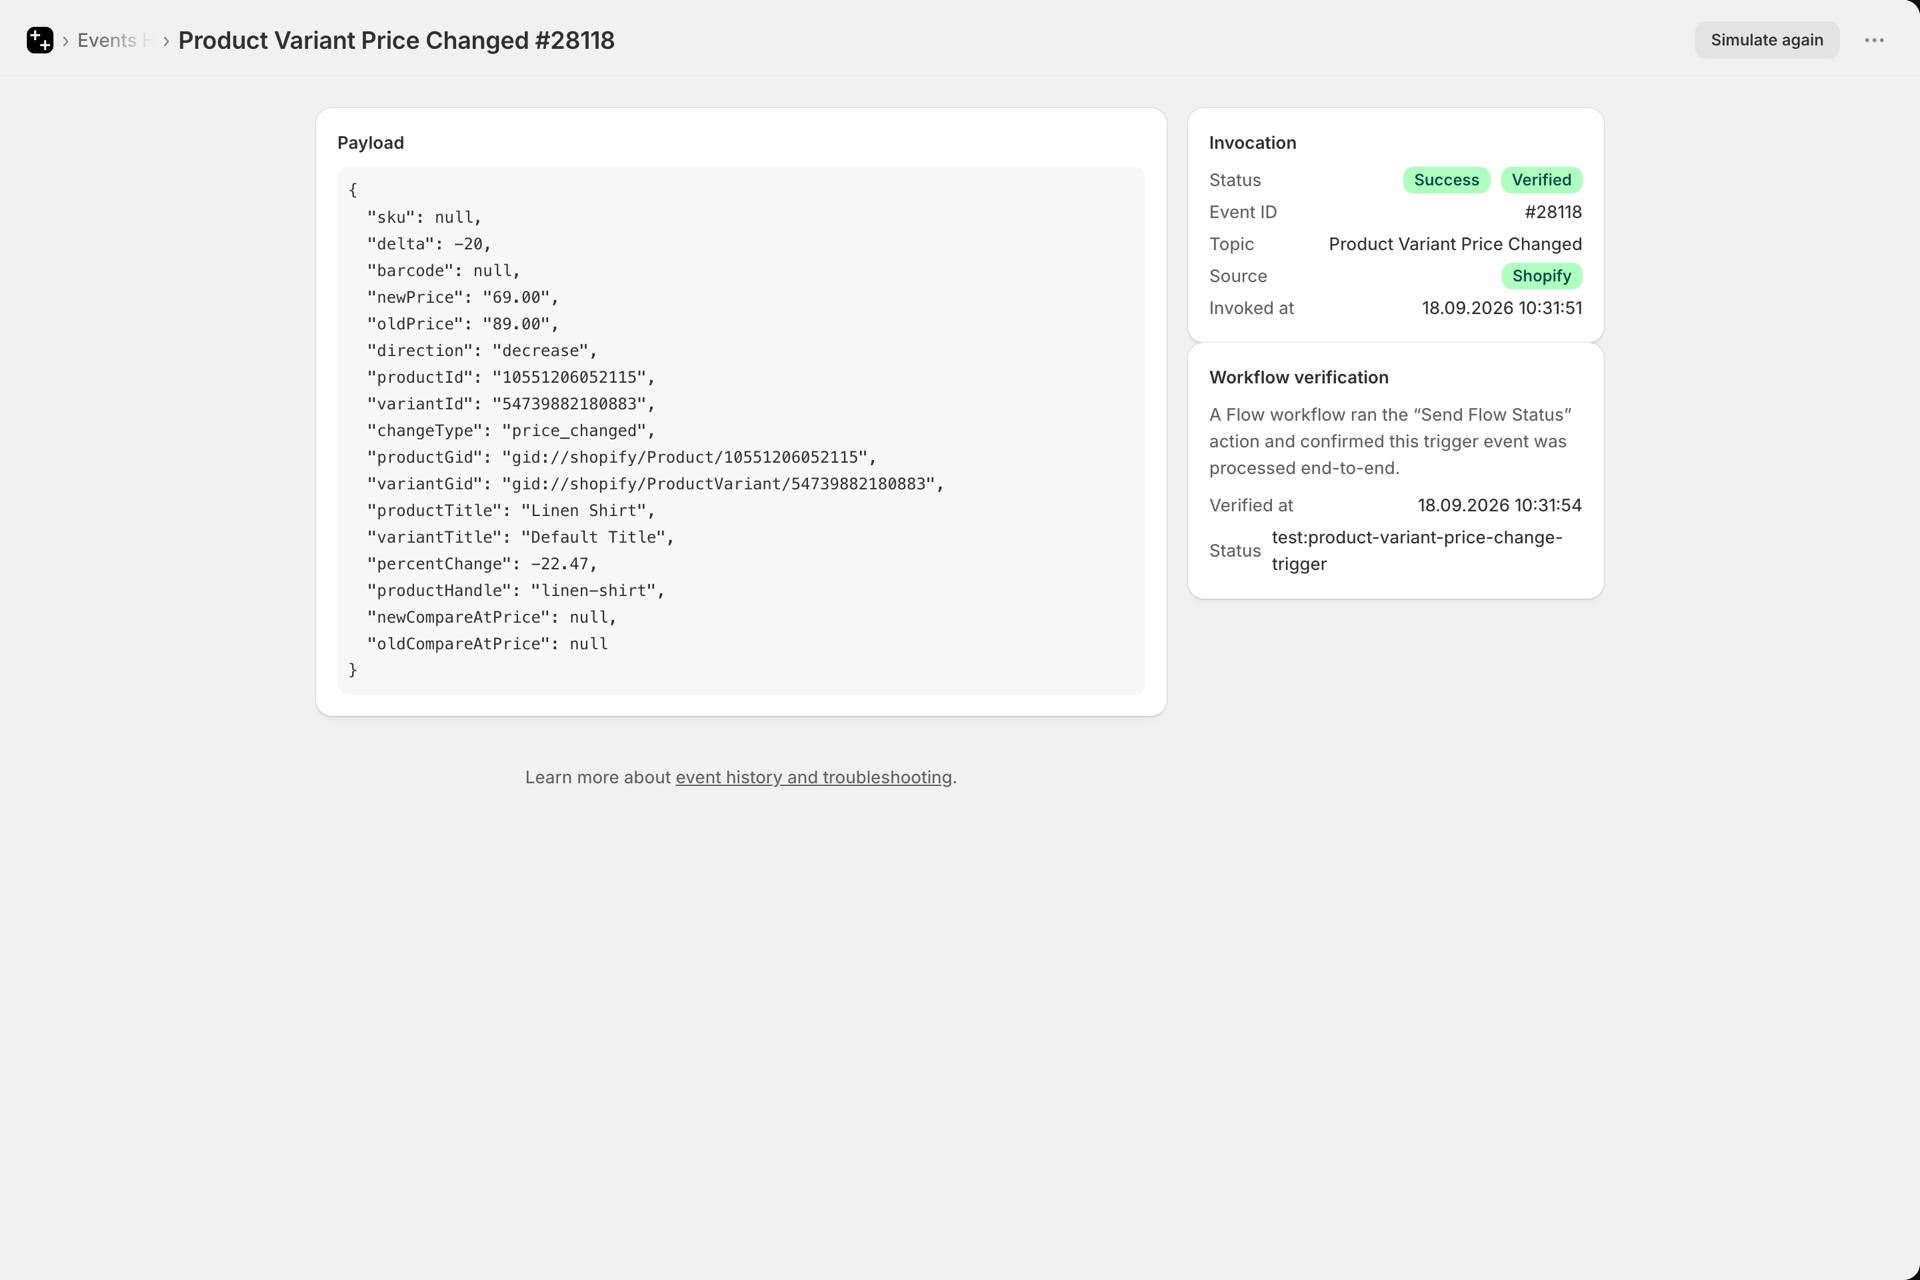
Click the event to see exactly what was sent - the same values your condition saw. If the workflow did not do what you expected, this is the first place to look: is the event there, and does it carry the values you assumed?
Where to go from here
Pick your area and follow the tutorial for the exact trigger you need:
- Product triggers, step by step, Product variant triggers, step by step, Inventory triggers, step by step, Collection triggers, step by step
- Order triggers, step by step, Draft order triggers, step by step
- Customer triggers, step by step, B2B company triggers, step by step
- Discount triggers, step by step, Metafield triggers, step by step, Metaobject trigger, step by step
- Market triggers, step by step, Location triggers, step by step, Blog and page triggers, step by step
- Storefront triggers, step by step, Checkout triggers, step by step
No trigger fits? Write your own: Custom triggers.