

Developer API, MCP, GitHub and trigger simulation
You can inspect your triggers, switch them on or off, read event history, and simulate a trigger from your own code or from an AI assistant. Workflow Trigger Extensions exposes a REST API and an MCP server, and can connect to a GitHub repository so your custom trigger code lives under version control. All three are managed on the Developer page.
Simulating a trigger
Testing a Flow workflow normally means making the real thing happen in your store - editing a product, placing an order, waiting for a poll. Simulation removes that wait: pick a trigger, point it at a resource, and it fires as if the real event had just happened.
Two ways to run one:
- In the app. Open any event in Event History and choose Simulate again. It re-fires that exact event.
- Over the API or MCP, with a resource ID or a past event.
Simulation is deliberately faithful. It does not build a shortcut payload - it goes through the same pipeline a real Shopify webhook does, so what your workflow receives is exactly what it would receive in production.
curl -X POST https://shopify.workflow-trigger-extensions.app/api/v1/triggers/product-update-trigger/simulate \
  -H "Authorization: Bearer ftk_your_key_here" \
  -H "Content-Type: application/json" \
  -d '{"resourceId":"gid://shopify/Product/123456789","dryRun":true}'
A dry run validates the trigger, resolves the topic, and shows you the payload - and fires nothing. Remove dryRun to fire it for real. You can also pass {"fromHistoryId":"456"} to re-fire a past event instead of building a new one.
Triggers driven by polling rather than a webhook cannot be simulated; they report simulatable: false in the trigger list.
API keys
Create a key on the Developer page and pick its access level:
- Read only - list triggers and their state, read event history, stats and permissions.
- Read & write - also switch triggers on and off.
- Read, write & execute - also simulate triggers and test custom trigger code.
The full key is shown once, at creation. Keys are stored hashed and can be revoked at any time. Send it as a Bearer token:
Authorization: Bearer ftk_your_key_hereSimulation sits behind its own level for the reason above: it runs your automations for real, so a key used for everyday reads cannot fire them.
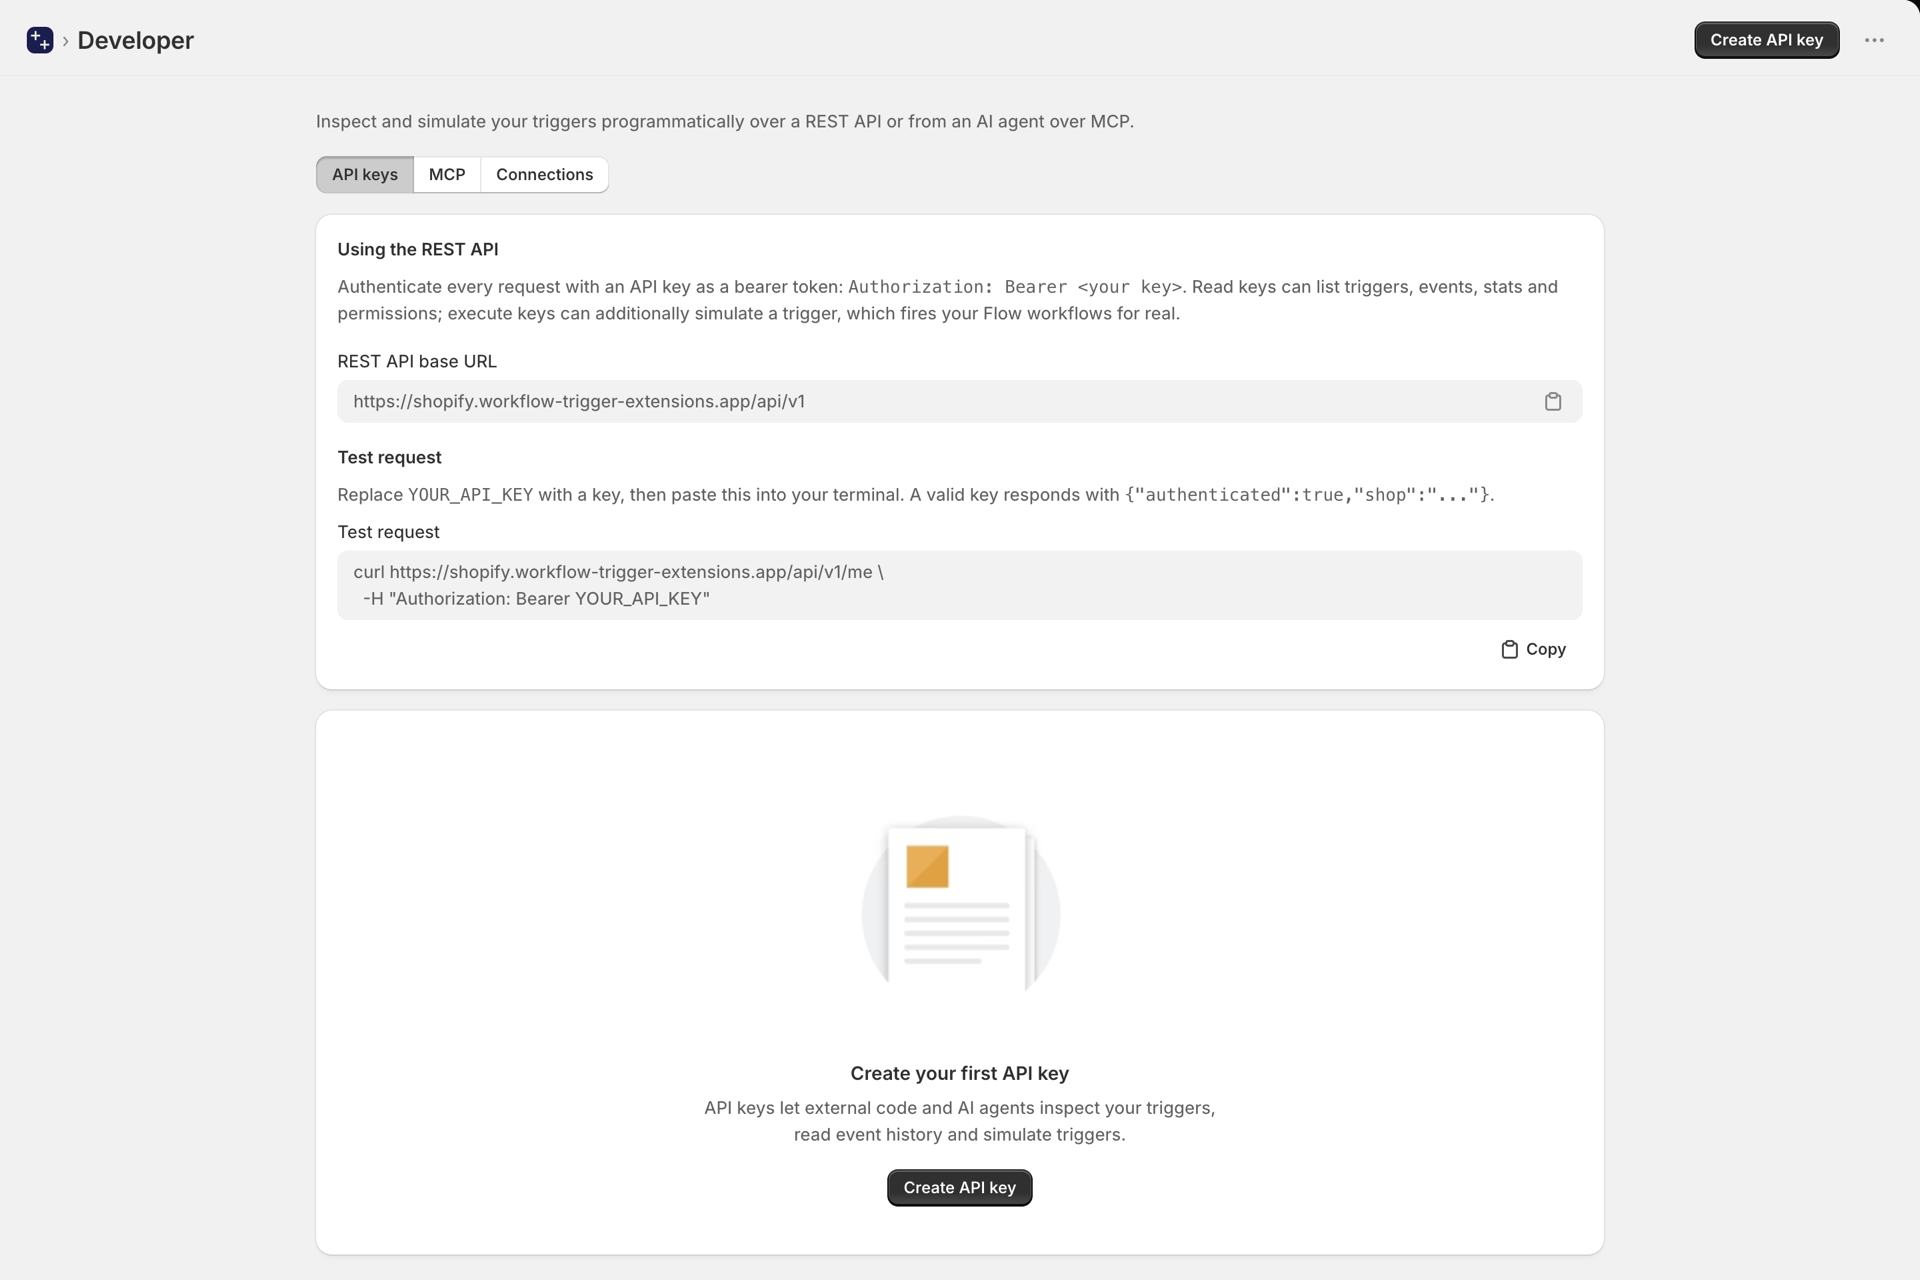
REST API
| Method | Path | Level | Purpose |
|---|---|---|---|
| GET | /api/v1 |
none | API index - confirms the API is up |
| GET | /api/v1/me |
read | Check auth and see your key's level |
| GET | /api/v1/triggers |
read | Every trigger, with its state for your store |
| GET | /api/v1/triggers/:handle |
read | One trigger in detail |
| PUT | /api/v1/triggers/:handle |
write | Switch one trigger on or off |
| PUT | /api/v1/triggers |
write | Switch many on or off in one call |
| POST | /api/v1/triggers/:handle/simulate |
execute | Simulate a trigger |
| GET | /api/v1/triggers/custom |
read | Your own custom triggers, with their code |
| GET | /api/v1/triggers/custom/:handle/test |
read | The captured sample event for a custom trigger |
| POST | /api/v1/triggers/custom/:handle/test |
execute | Run custom trigger code without saving or firing |
| GET | /api/v1/history |
read | List trigger events |
| GET | /api/v1/history/:id |
read | Get one event, with its payload |
| GET | /api/v1/stats |
read | Totals, success rate, status breakdown |
| GET | /api/v1/permissions |
read | Which data permissions you granted, and what each unlocks |
GET /api/v1/triggers is the useful one for setup: for every trigger it tells you the permission it needs, whether that permission is granted, whether the trigger is switched on, and where in the app to manage it.
Switching triggers on and off
PUT is used rather than PATCH because the call is idempotent - replaying it after a timeout cannot double-apply anything, which matters when an assistant is driving the API.
curl -X PUT https://shopify.workflow-trigger-extensions.app/api/v1/triggers/order-tags-added-trigger \
  -H "Authorization: Bearer ftk_your_key_here" \
  -H "Content-Type: application/json" \
  -d '{"enabled":true}'
Enabling never grants a permission. If the trigger needs one you have not granted, the call still succeeds and tells you exactly what is missing and where to grant it:
{
  "enabled": true,
  "scopeGranted": false,
  "missingScopeLabels": ["Order Data Access"],
  "permissionsUrl": "https://admin.shopify.com/store/.../app/permissions?permission=read_orders",
  "warning": "Enabled, but this trigger cannot fire until Order Data Access is granted."
}
That link opens the Permissions page scrolled straight to the card you need.
Add "sync": true to also start a data sync, so the trigger works on records that already exist rather than only on ones created from now on.
To switch several at once, PUT /api/v1/triggers accepts an explicit list or a whole category:
{ "enabled": true, "handles": ["order-tags-added-trigger", "order-note-changed-trigger"] }
{ "enabled": true, "category": "orders" }
Connect GitHub
On the Developer page, the Connections tab lets you connect a GitHub repository for your Custom triggers code. Changes become reviewable in a pull request, you can see who changed what, and you can roll back a transform that stopped working.
Connecting installs our GitHub App on the account you choose. You pick which repositories it can see, and you can revoke that access from GitHub at any time. Selecting a repository writes every custom trigger you already have to it immediately, so it starts out matching the app rather than filling in over time.
| What you do | What happens |
|---|---|
| Create, edit or duplicate a trigger in the app | The file is committed to your repository |
| Delete a trigger in the app | The file is removed from your repository |
| Push a change to the connected branch | The trigger's code is updated in the app |
Each trigger is one file named after its handle, containing exactly the module you see in the editor - nothing wrapped around it. So you can open it in your own editor, run it, and lint it like any other JavaScript file, then use the /test endpoint above to run it against a real captured event before you commit.
Going back to an earlier version
You do not need to know git to undo a change. Once a repository is connected, the trigger editor shows a Version dropdown listing every previous version of that file with its date and author. Pick one and it loads into the editor as an unsaved change, so you can read it first - saving is what puts it back, as a new commit.
Changing or disconnecting
Change repository returns you to the picker without touching the installation. Disconnect revokes the installation on GitHub as well as removing it here, so it means what it says. Manage permissions opens the installation settings on GitHub, where you can add or remove repositories.
Testing custom trigger code
If you keep your custom trigger code in a repository and edit it in your own editor, you can run it against the captured sample event without saving it to the app first.
curl -X POST https://shopify.workflow-trigger-extensions.app/api/v1/triggers/custom/my-trigger/test \
  -H "Authorization: Bearer ftk_your_key_here" \
  -H "Content-Type: application/json" \
  -d "$(jq -Rn --rawfile c flow-triggers/my-trigger.js '{code:$c}')"
You get back what the app's Test button shows: whether it would fire, the output object, your ctx.log lines and the run time.
Nothing is fired and nothing is saved - no workflow runs, no event is recorded, no allowance is used, and the stored code is untouched. It is safe to run on every save from a file watcher. See Custom triggers for the full workflow.
MCP server
The MCP tab on the Developer page shows the server URL and a ready-to-copy connect command for Claude, Cursor, VS Code, Gemini CLI and others. Tools mirror the REST endpoints, and the tool set reflects your key's level - a read-only key does not see the write or execute tools at all.
| Tool | Level | What it does |
|---|---|---|
list_triggers |
read | Every trigger and its state |
list_custom_triggers |
read | Your own custom triggers, with their code |
get_custom_trigger_sample |
read | The captured event a custom trigger tests against |
list_history |
read | Recent trigger events |
get_event |
read | One event including its payload |
get_stats |
read | Aggregate statistics |
get_permissions |
read | Granted permissions and what they unlock |
get_trigger |
write | One trigger in detail |
set_trigger |
write | Switch one trigger on or off |
set_triggers_bulk |
write | Switch several on or off at once |
simulate_trigger |
execute | Fire a trigger on demand |
test_custom_trigger |
execute | Run custom trigger code without saving or firing |
This is what makes an assistant genuinely useful: it can list what exists, explain what a trigger needs, switch it on, fire a test event, read back the result - and for custom triggers, rewrite the code and test it - without you leaving the conversation.
How your data is protected
Event payloads are returned with personal data masked: email addresses, phone numbers, card numbers and person-named fields become ***. Shopify resource IDs and business fields are left intact so the payload stays useful.
The masking works on field names and value patterns, so it is careful but not a guarantee - personal data inside a free-text field can still come through. Error messages are also stripped of internal diagnostic detail before they leave the server.
The GitHub connection stores no credential you could leak: only the installation id is kept, and repository access uses a token minted on demand that expires within the hour.
Next steps
- Custom triggers - build a trigger of your own with a few lines of JavaScript.
- Plans and usage - what counts as an event and how the allowance works.
- Introduction to Workflow Trigger Extensions - how triggers work and how to switch them on.
Rate limits
The REST API and the MCP server share one budget per API key.
- 300 requests per 60 seconds per key, as a fixed window.
- Execute-level calls get a second, tighter budget of 60 per hour. They spend both, so a burst of executes also eats into the shared allowance. For this app that means simulating a trigger and running custom trigger code, both of which really fire your workflows.
- The same on every plan. Your plan meters trigger events, not API calls, so upgrading does not raise these numbers.
- Going over returns HTTP 429. Back off and retry, ideally with exponential backoff.
- If our cache is briefly unavailable the limiter fails open rather than blocking your integration.
Inbound Shopify webhooks are not rate limited
We do not throttle the webhooks Shopify sends us - they are accepted as they arrive and queued. The ceiling is your plan's 30-day event allowance.
One thing worth knowing if you write custom triggers: your code runs for every event of the topic it listens to, and each run counts as one event, including the ones you filter out by returning null. It costs the same as the built-in trigger on the same event would.
Shopify's own limits
These are Shopify's limits on Shopify's APIs, not ours. They apply to what this app (and your workflows) can do on the Shopify side, and you may meet them on a large store even while well inside our limits.
- Input arrays are capped at 250 items across every Shopify API. A request with a larger array is rejected.
- Pagination stops at 25,000 objects. Counts are accurate up to 25,000; above that Shopify returns
25001, meaning "more than 25,000". If you need to go deeper, filter first. - The GraphQL Admin API is metered by calculated query cost, in points per second, and the ceiling depends on the store's Shopify plan:
| Shopify plan | Points per second |
|---|---|
| Standard | 100 |
| Advanced | 200 |
| Plus | 1000 |
| Enterprise (Commerce Components) | 2000 |
The Storefront API is not rate limited.
Full detail: Shopify API rate limits